
A beginner's guide to Homebrew: the easy way to install apps and tools on your Mac
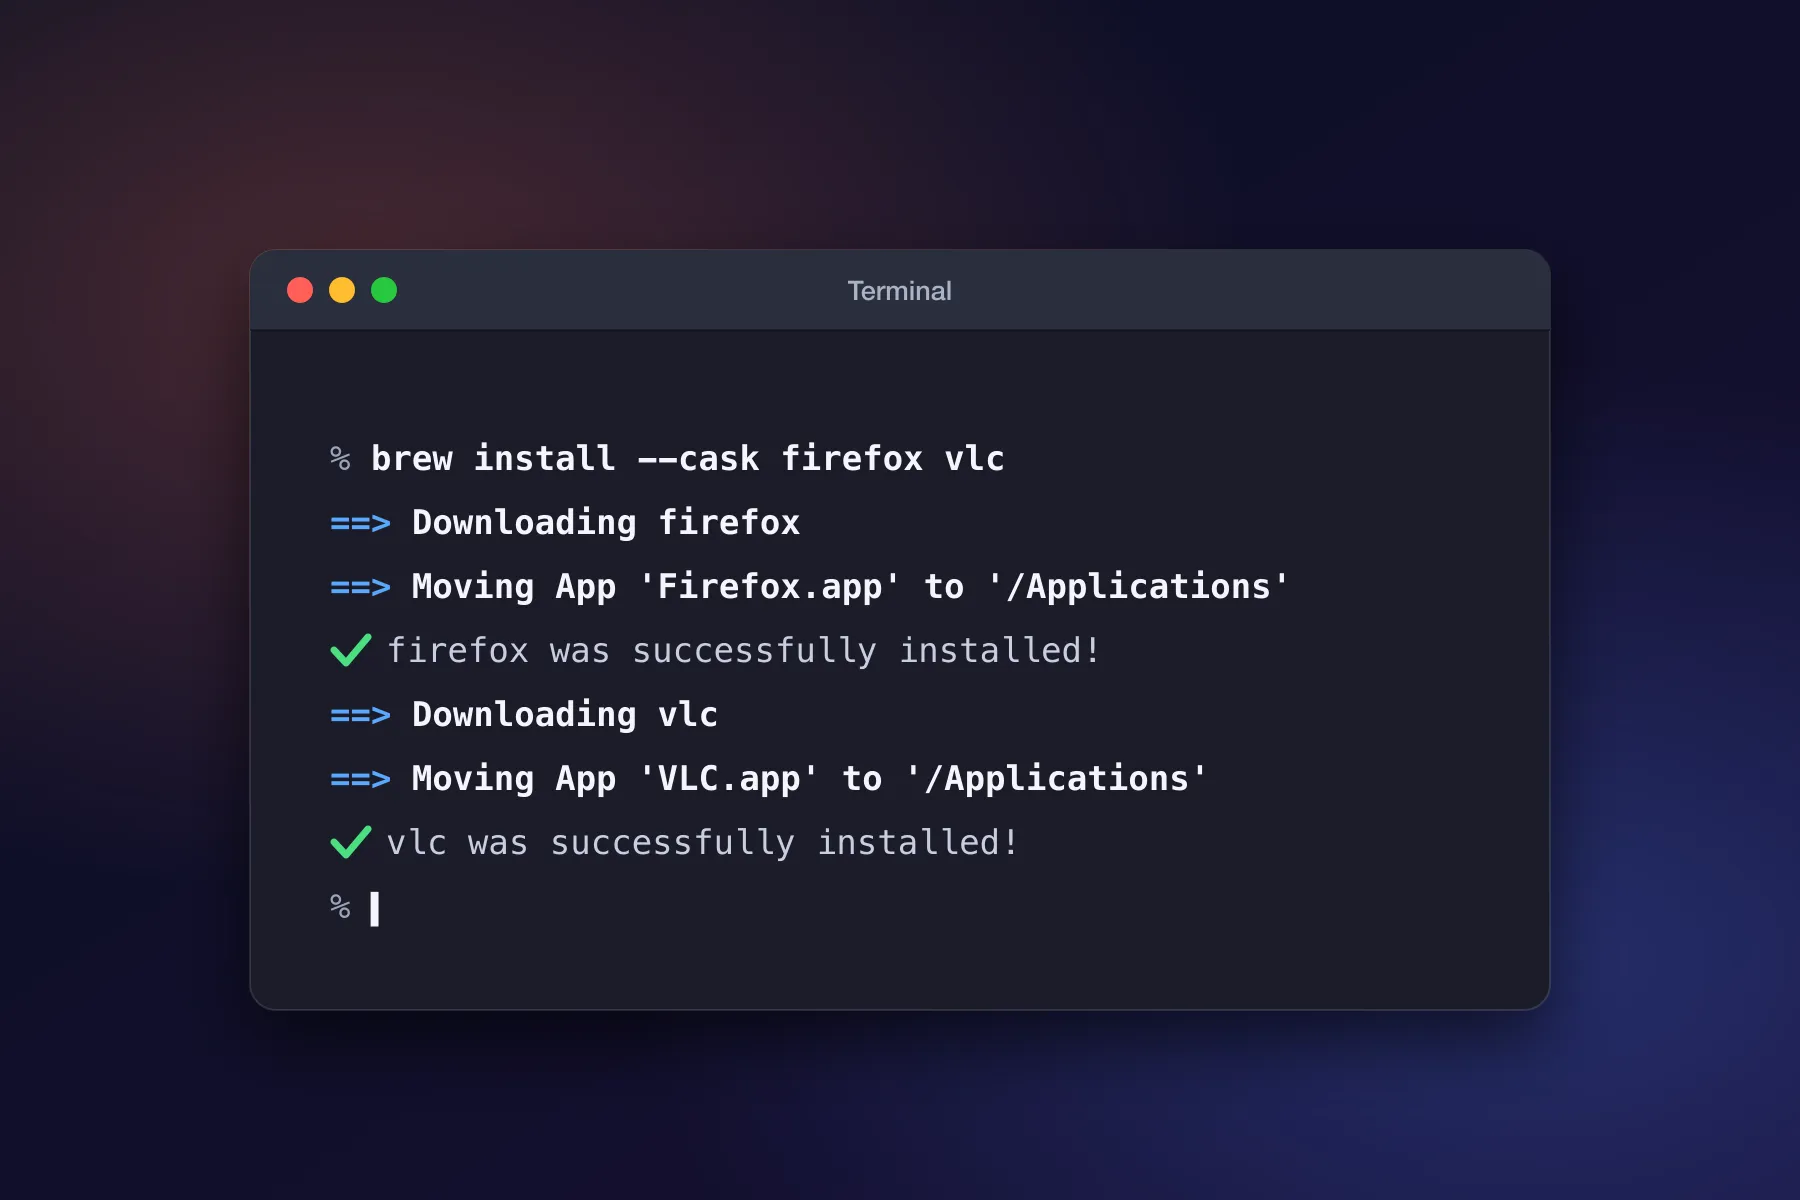
If you’ve ever looked up how to do something a bit more advanced on a Mac, you’ve probably been told to “just install it with Homebrew”, followed by a line to paste into Terminal. If that sounded like a step too far, this guide is for you.
Homebrew is one of the most useful free tools for the Mac, and you don’t need to be a developer to use it. Here’s what it is, why it exists, when it’s worth using (and when it isn’t), and how to get started.
What is Homebrew?
Homebrew is a package manager: a tool that finds, installs, updates and removes software for you. You tell it what you want by name, and it does the rest.
The closest thing most Mac users know is the App Store. You search for an app, click Get, and the App Store downloads it, installs it and keeps it updated. Homebrew does the same job, but you type short commands in Terminal instead of clicking, and it covers a far bigger range of software, including lots that the App Store doesn’t carry. It handles two kinds:
- Mac apps, the normal kind with windows and icons, such as Firefox, VLC, Signal or LibreOffice. Homebrew calls these casks.
- Command-line tools: small programs with no window that you run in Terminal, such as
yt-dlpfor saving videos orffmpegfor converting audio and video. Homebrew calls these formulae. Many of these have no normal installer at all, and Homebrew is by far the easiest way to get them.
Homebrew is free and open source, and it’s run by a team of volunteers rather than a company. It’s paid for by donations from people and businesses who use it. Thousands of apps and tools are available through it.
The names come from beer-making: a formula is a recipe, a cask is a barrel, and Homebrew itself is named after home brewing. Its creator has said he didn’t expect it to become popular, and by the time it had, it was too late to change the theme.
Why was it created?
Homebrew was started in 2009 by a developer called Max Howell. Macs didn’t come with any built-in way to install the free command-line tools that Linux users took for granted, and the tools that existed to fill the gap (MacPorts and Fink) were slow and heavy. Installing one small tool could mean downloading and building dozens of things the Mac already had.
Max wanted something simpler: a tool that used what the Mac already has wherever it can, didn’t need administrator access for every install, and made adding new software easy. In Homebrew, each piece of software is described by a short text file, a “formula”, that anyone can improve on GitHub. That openness is why it grew so quickly. Support for ordinary Mac apps (casks) came a few years later, and today Homebrew is the standard way to install software on a Mac for developers and power users, and increasingly for everyone else.
Why use it instead of installing apps the normal way?
The normal way works fine, so it’s a fair question. Downloading an app usually means finding the right website, avoiding the ads dressed up as download buttons, opening the download, dragging the app to Applications and deleting the leftover file. For one app that’s no trouble. Here’s where Homebrew earns its place:
- One line, no hunting around.
brew install --cask firefoxgets Firefox from Mozilla’s own download, and for most apps Homebrew checks the file is exactly the one it expects before installing it. You can install several apps in one go. - Updates in one place. Some apps update themselves, but many don’t, and you only find out you’re on an old version when something breaks.
brew upgradeupdates everything you’ve installed with Homebrew at once. - A list of what you have.
brew listshows everything you’ve installed with it, which is handy when you can’t remember what that odd app in Applications is. - Clean removal.
brew uninstallremoves an app, and for most apps, adding--zapalso removes the settings and support files it scattered around your Mac, which dragging an app to the Bin leaves behind. - Setting up a new Mac. Homebrew can save a list of everything you’ve installed to a file, and install the lot on a new Mac with one command (see Moving to a new Mac below).
- Tools you can’t get any other way. A lot of useful software only comes as a command-line tool, and Homebrew is how most people install it.
When it’s not worth it: if you only ever install a few apps, mostly from the App Store, and they keep themselves up to date, Homebrew won’t add much. It also doesn’t replace the App Store: apps sold there (and most paid apps) still come from there. Homebrew sits alongside both, and an app you installed by downloading it carries on working as normal.
A very short introduction to Terminal
Homebrew is used from Terminal, an app that comes with every Mac. Instead of clicking buttons, you type a command and press Return, and the Mac does it and prints the result. It looks old-fashioned, but it’s simply another way of telling your Mac what to do, and a precise one: a command does the same thing every time, which is why guides like this one use them.
- To open Terminal, press ⌘ Space, type Terminal and press Return. It also lives in Applications → Utilities.
- To run a command, type it or paste it (⌘V) after the prompt (the line ending in
%) and press Return. Commands are case-sensitive and spacing matters, so pasting is safest. - When asked for a password, type your normal Mac login password and press Return. Nothing appears on screen as you type, not even dots. That’s normal: it’s still being typed.
- To stop something, press Control-C.
- To start again with a tidy window, press ⌘K.
Terminal does exactly what it’s told, without “are you sure?” checks. So follow one simple rule: only paste commands from sources you trust, and if a command asks for your password when you didn’t expect it to, stop and check.
How to install Homebrew
Homebrew is designed for Macs with Apple silicon (the M-series chips) and recent versions of macOS. It still runs on Intel Macs for now, but support for them is being wound down, so if you have an older Mac, check Homebrew’s installation page first.
-
Open Terminal.
-
Copy the install command from brew.sh, paste it into Terminal and press Return. Always take it from Homebrew’s own site, as it occasionally changes. It looks like this:
/bin/bash -c "$(curl -fsSL https://raw.githubusercontent.com/Homebrew/install/HEAD/install.sh)" -
Enter your Mac password when asked, then press Return when it asks you to confirm what it’s about to do.
-
Let it install the Command Line Tools if it needs to. If your Mac doesn’t have Apple’s Command Line Tools yet, Homebrew installs them first. This is a large download and can take a while, so be patient.
-
Follow the “Next steps” it prints at the end. Homebrew lists a couple of commands that tell Terminal where to find it. They look something like this, but copy the exact lines it shows you:
echo 'eval "$(/opt/homebrew/bin/brew shellenv)"' >> ~/.zprofile eval "$(/opt/homebrew/bin/brew shellenv)" -
Check it worked:
brew --version
If you see a version number, Homebrew is installed. If you’d rather not use Terminal for the install itself, Homebrew also offers a normal Mac installer: the Homebrew.pkg file on its latest release page (Apple silicon Macs only). You’ll still use Terminal for everything after that.
A note on privacy: Homebrew collects anonymous statistics about which packages are installed, to help its volunteers decide what to work on. It contains no personal information and is explained on its analytics page. If you’d rather it didn’t, run brew analytics off.
The commands you’ll actually use
You can do almost everything with a handful of commands. Try brew info vlc first: it only looks things up, so it’s a safe way to get a feel for it.
| To do this | Type |
|---|---|
| Find an app or tool | brew search vlc |
| Read about it before installing | brew info vlc |
| Install a Mac app | brew install --cask vlc |
| Install a command-line tool | brew install yt-dlp |
| Install several at once | brew install --cask firefox vlc the-unarchiver |
| See what you’ve installed | brew list |
| Update Homebrew and see what’s out of date | brew update, then brew outdated |
| Update everything | brew upgrade |
| Remove an app | brew uninstall --cask vlc |
| Remove an app and its settings | brew uninstall --cask --zap vlc |
| Free up space from old downloads | brew cleanup |
| Check for problems | brew doctor |
The --cask part tells Homebrew you mean a Mac app. It can usually work that out by itself, but including it avoids any mix-up when an app and a command-line tool share a name.
A habit worth getting into: every so often, run
brew update && brew upgradeto bring everything up to date in one go. Apps that update themselves are left to do so, unless you ask Homebrew to update them too with brew upgrade --greedy.
Moving to a new Mac
Homebrew can save a list of everything you’ve installed with it into a file called a Brewfile:
cd ~/Documents
brew bundle dump
That creates ~/Documents/Brewfile. On your new Mac, install Homebrew, copy the Brewfile across into the Documents folder, and run:
cd ~/Documents
brew bundle install
Homebrew then installs everything on the list. It’s one of the nicest reasons to install your apps with it.
Prefer clicking? There’s an app for that
Homebrew also has an official app, BrewUI, for browsing, searching and installing with clicks once Homebrew itself is set up. It needs a recent version of macOS (Tahoe or later) and is still quite new. Install it with:
brew install --cask homebrew-appIt also shows the Terminal command for whatever you do, which makes it a good way to learn.
How to remove Homebrew
If you decide it’s not for you, Homebrew has an uninstall script. As with installing, copy it from Homebrew’s own instructions:
/bin/bash -c "$(curl -fsSL https://raw.githubusercontent.com/Homebrew/install/HEAD/uninstall.sh)"This removes Homebrew and the command-line tools it installed. Mac apps you installed with it stay in your Applications folder, so remove any you don’t want first with brew uninstall --cask.
Supporting Homebrew
Homebrew is run by volunteers and costs real money to keep going (the servers that build and test thousands of packages aren’t free). If you find it useful, consider sponsoring Homebrew.
If this guide helped, or you have a question, let me know in the comments.
Enjoyed this? Support my work
GitHub Sponsors
Sponsor monthly with your GitHub account.
Sponsor on GitHubKo-fi
Donate once by card or PayPal.
Donate on Ko-fiComments
Other websites can respond by sending a Webmention.
Powered by Atmosphere Comments for Astro